͏ ͏ ͏ ͏ ͏ ͏ ͏ ͏ ͏ ͏ ͏ ͏ ͏ ͏ ͏ ͏ ͏ ͏ ͏ ͏ ͏ ͏ ͏ ͏ ͏ ͏ ͏ ͏ ͏ ͏ ͏ ͏ ͏ ͏ ͏ ͏ ͏ ͏ ͏ ͏ ͏ ͏ ͏ ͏ ͏ ͏ ͏ ͏ ͏ ͏ ͏ ͏ ͏ ͏ ͏ ͏ ͏ ͏ ͏ ͏ ͏ ͏ ͏ ͏ ͏ ͏ ͏ ͏ ͏ ͏ ͏ ͏ ͏ ͏ ͏ ͏ ͏ ͏ ͏ ͏ ͏ ͏ ͏ ͏ ͏ ͏ ͏ ͏ ͏ ͏ ͏ ͏ ͏ ͏ ͏ ͏ ͏ ͏ ͏ ͏ ͏ ͏ ͏ ͏ ͏ ͏ ͏ ͏ ͏ ͏ ͏ ͏ ͏ ͏ ͏ ͏ ͏ ͏ ͏ ͏ ͏ ͏ ͏ ͏ ͏ ͏ ͏ ͏ ͏ ͏ ͏ ͏ ͏ ͏ ͏ ͏ ͏ ͏ ͏ ͏ ͏ ͏ ͏ ͏ ͏ ͏ ͏ ͏ ͏ ͏
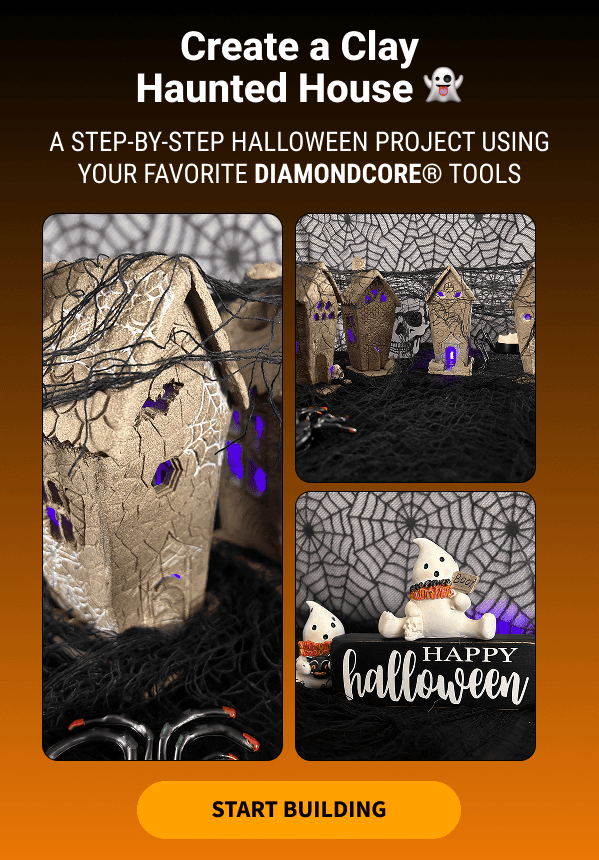
Halloween Haunted Houses Step-by-Step Guide
Build your own spooky masterpiece from a slab of clay. Here’s how to get started:
|
|
|
|
1. Cut Your Pieces From a 3/8-inch clay slab, cut your walls, roof, and base. Each wall should be about 4" tall, with angled sides for easy assembly.
|
|
|
|
2. Add Texture & Design When your pieces are leather-hard, use carving or stamping tools to add window cutouts, brick patterns, or cracks.
|
|
|
|
3. Assemble the Walls Score and slip all joining edges, then press together to form your house. Wipe away excess slip once set.
|
|
|
|
4. Attach the Roof Join the roof pieces along their edges, then secure them to your walls. Smooth seams with a soft sponge.
|
|
|
|
5. Personalize It Add details like chimneys, pumpkins, or ghosts to make it uniquely yours.
|
|
|
|
6. Dry & Fire Let your haunted house dry completely before firing according to your clay body’s specs.
|
|
|
|
🎃 Tip 🎃
Don’t forget to share your finished piece with us — we’d love to see your spooky creations! Tag us on Instagram or Facebook!
|
|
|
|
🔥Tools That Bring It to Life🔥
|
|
|
|
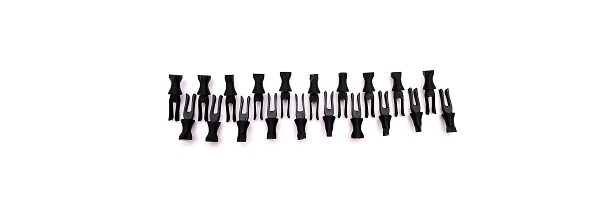
Clay Impression Stamp Set 2
|
|
|
|
Easily add texture and detail with 20 unique stamps that can be handheld or attached to your DiamondCore® carving tool handle.
|
|
|
|
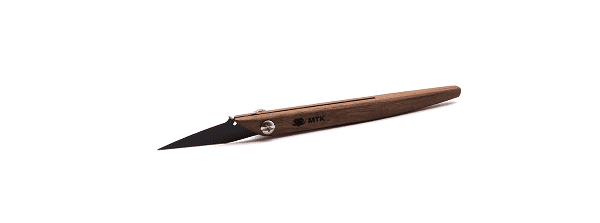
Easily cut slabs, wax, and soft materials with this adjustable, extendable knife. Durable, versatile, and endlessly useful.
|
|
|
|
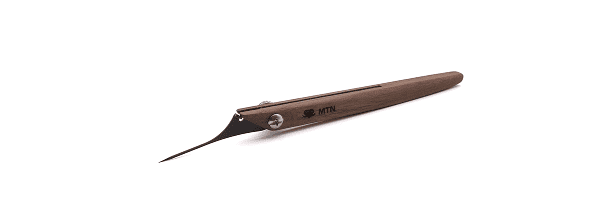
Perfect for trimming, etching, and scoring small details. The slim, coated steel needle stays pointed use after use.
|
|
|
|
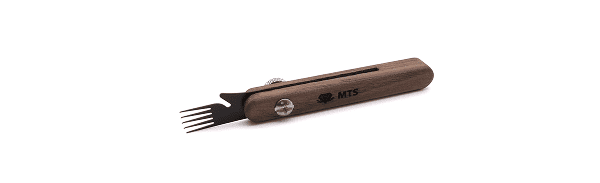
Roughen clay for stronger joins or add texture to your walls. Compact, precise, and designed for a lifetime of use.
|
|
|
|
|
|
|
|